Last updated November 17, 2026








Free written scope consultation - allowances, timeline, and change-order rules on paper before a single trade is scheduled
Bathroom Remodeling Troubleshooting: Common Problems and How to Fix Them
A bathroom tile floor that cracks within the first year almost never cracked because of the tile. It cracked because the substrate underneath flexed, the mortar bed was too thin, or the waterproofing membrane went down over a surface that wasn’t primed. In our experience across Boulder City remodels, the visible failure is usually the last domino, not the first. This guide teaches you to read the symptoms: a hairline crack, a soft grout joint, a toilet that rocks, a shower that smells faintly of damp. You’ll learn which problems trace back to waterproofing method, substrate choice, or fixture rough-in placement – and what each repair actually involves before you spend money on the wrong fix.
Quick Answer
Most bathroom remodel problems come from three decisions made before the tile went in: waterproofing method, substrate choice, and fixture rough-in placement. Diagnose the symptom first (crack pattern, grout condition, moisture source, flange height) and fix the cause, not the surface. A cracked tile over a solid floor is cosmetic; a cracked tile along a grout line above a soft substrate is structural and will return unless the subfloor or membrane is corrected.
Styles & brands we work with
- Kitchen remodeling
- Bathroom remodeling
- Home additions & ADU
- Roofing
- Windows & doors
- Driveway & pavers
- Fence
Table of Contents
- How do you know if a cracked tile is surface damage or structural?
- Why grout discolors and erodes in desert climates
- Rough-in measurements that matter most
- How to tell if your shower is leaking into the wall
- What to inspect during a remodel, before drywall
- Waterproofing methods and where they fail
- Ventilation and moisture problems in tight bathrooms
How do you know if a cracked tile is surface damage or structural?
Run your hand along the crack and press on the tile on both sides. If the tile feels solid underfoot and the crack is a single line away from grout joints, it’s usually surface damage – a dropped object, a heavy impact, or a chair leg. If the tile moves when you press it, if the crack follows the grout lines in a repeating pattern, or if cracks appear across several tiles in a row, the substrate underneath is almost certainly the cause.
Three diagnostic signs separate surface cracks from structural ones:
- Sound test. Tap the tile with a plastic screwdriver handle. A hollow, tinny sound means the thinset didn’t bond and the tile is debonding from the substrate.
- Crack pattern. Cracks that run along grout lines and continue across multiple tiles follow the subfloor seams or the membrane’s movement – structural.
- Deflection. Stand on the floor near the crack and shift your weight. If the floor bounces even slightly, the joist structure or subfloor thickness is inadequate for tile, and any surface repair will fail again.
In Boulder City, the desert’s temperature swings between day and night cause wood subfloor framing and concrete slabs to expand and contract more aggressively than in milder climates. A floor that was borderline on deflection in spring can crack tile by the following summer. If the crack first appeared after a hot spell, note the timing for whoever inspects it. Underneath the visible problem, the real question is almost always what’s under the tile, which is why a proper bathroom remodeling in Boulder City starts with an honest look at the substrate, not the finish selection.
Why grout discolors and erodes in desert climates
Grout in Boulder City bathrooms discolors and erodes for two reasons that have nothing to do with the grout brand: water is reaching it from behind (a failing waterproofing membrane or a slow shower leak), and the low desert humidity is pulling moisture out of cementitious grout faster than it can cure properly. The result is a joint that looks chalky, holds dust, and starts to pit along the shower floor within a year or two.
Two grout families are worth understanding:
- Cementitious grout (sanded or unsanded). Needs sealing every one to three years. In a desert bathroom with a hard-water supply, mineral deposits sit on the surface and dull it. Sealer helps, but it is not permanent.
- Epoxy or single-component urethane grout. Doesn’t absorb water the same way and doesn’t need annual sealing. Costs more per square foot, but in a guest bathroom with heavy summer use it earns that back. Note that epoxy grout sets fast – it’s a product the installer has to be comfortable working with, and rushing it leaves haze on the tile.
Hard water is the other culprit. Southern Nevada water carries a lot of dissolved calcium. A shower with a non-sealed cement grout floor will show a white haze on the grout lines within months. A whole-house water softener or a showerhead filter helps, but the durable fix is a grout that doesn’t absorb water and a waterproofing layer beneath it that stops moisture from ever reaching the joints. Before you scrub a stained grout line, figure out whether the discoloration is on the surface (efflorescence, soap scum) or spreading from behind. If it wipes away and comes back, moisture is moving through the assembly.
Rough-in measurements that matter most
Rough-in is the placement of plumbing and framing before tile and fixtures go in, and it’s the decision most Boulder City homeowners never see. When a rough-in is wrong, the fix is expensive because correcting it means removing the very tile you just paid to install. Two measurements soak up the most money when they’re off: the toilet flange height and the shower valve placement.
Toilet flange height
The flange – the ring the toilet bolts to – should sit flush with the finished floor surface, or no more than about a quarter inch above it. If the new tile floor raises the floor height and nobody accounts for it, the flange ends up buried below the tile. The toilet then either won’t seal (wax ring can’t reach), rocks on the tile, or leaks at the base. Fixing it after the fact means pulling the toilet, chipping out tile, and adding a flange extension or re-setting the flange. Budget a few hundred dollars for the correction alone, before you consider the ruined flooring.
Shower valve placement
A shower valve (the mixing body behind the handle) has to sit at a set depth inside the wall so the trim plate and handle cover the hole and reach properly. If the wall is furred out for a thicker tile or a backer board, and the valve isn’t adjusted to the new finished wall depth, the trim won’t sit tight and water can wick behind it. The valve body’s rough-in depth is printed on the manufacturer’s spec sheet – Kohler, Moen and Grohe all publish it – and the installer should check it against the planned finished wall thickness before closing the wall.
Other rough-ins worth a check while the wall is open: the shower drain centered in the pan, the tub overflow height, and the electrical box locations relative to the mirror and vanity. A wrong box position means cutting drywall later. If you’re weighing a full renovation, the general contractor in Boulder City who coordinates your trade sequencing is the person responsible for getting these dimensions right before close-in.
How to tell if your shower is leaking into the wall
A shower that drains slowly and a shower that leaks into the wall are two completely different repairs, and telling them apart early saves thousands. Slow drainage is usually a clog in the trap or a drain assembly that’s partly blocked – a plumbing call, often under a couple hundred dollars. A shower leaking into the wall means water is getting behind the waterproofing, and the repair involves opening the wall, correcting the membrane or the pan, and rebuilding.
Here’s how to sort the two:
- Water stain on the ceiling below or a soft, discolored patch on the adjoining drywall means water is escaping the shower assembly. That’s a leak, not a clog.
- A musty smell that doesn’t clear after cleaning, or grout that stays dark days after use, points to moisture trapped behind the tile.
- Drain test: pour a bucket of water directly into the drain (not onto the floor). If it drains fine, the drain is clear and the problem is the pan or membrane, not the plumbing.
- Flood test: a contractor can run a controlled water test on the pan to confirm where it’s escaping. This is a professional step – don’t flood a shower you suspect is leaking without containment.
Waterproofing is the layer that matters here, and the products are worth knowing by name. Schluter’s Kerdi system, liquid-applied membranes, and cement backer board with a bonded membrane are the common assemblies. A membrane applied over an unprimed or dusty substrate will peel at the edges – the failure mode that shows up as a shower leaking into the wall a year after install. In Boulder City’s dry heat, membrane edges can cure too fast if the substrate wasn’t dampened per manufacturer instructions. This is exactly the kind of detail that separates a durable remodel from a callback, and it’s why our bathroom remodeling in Boulder City treats membrane installation as the job’s center of gravity.
What to inspect during a remodel, before drywall goes up
The window between plumbing rough-in and drywall is the only time problems are still cheap to fix. Once drywall and tile are up, a mistake that cost $40 to correct becomes a $400 to $900 repair. If you’re managing your own project or just want to keep an eye on it, walk the open walls with the crew and check these five things:
- Confirm the shower valve depth against the planned finished wall thickness, using the manufacturer’s spec sheet – not a guess.
- Look at the waterproofing membrane coverage. Every seam, corner and penetration (valve, drain, niche) should be taped or sealed. Any gap is a future leak.
- Check the subfloor before tile. Press on it. If it moves or feels spongy, stop – don’t let tile go over it. Ask what the substrate plan is.
- Verify the toilet flange height relative to the planned tile thickness. Raise the flange now, not after.
- Confirm the ventilation path. Is there an exhaust fan rated for the cubic feet of the room, and does the duct run straight out with minimal bends? A fan that’s undersized or ducted into a dead-end run will leave a Boulder City bathroom damp.
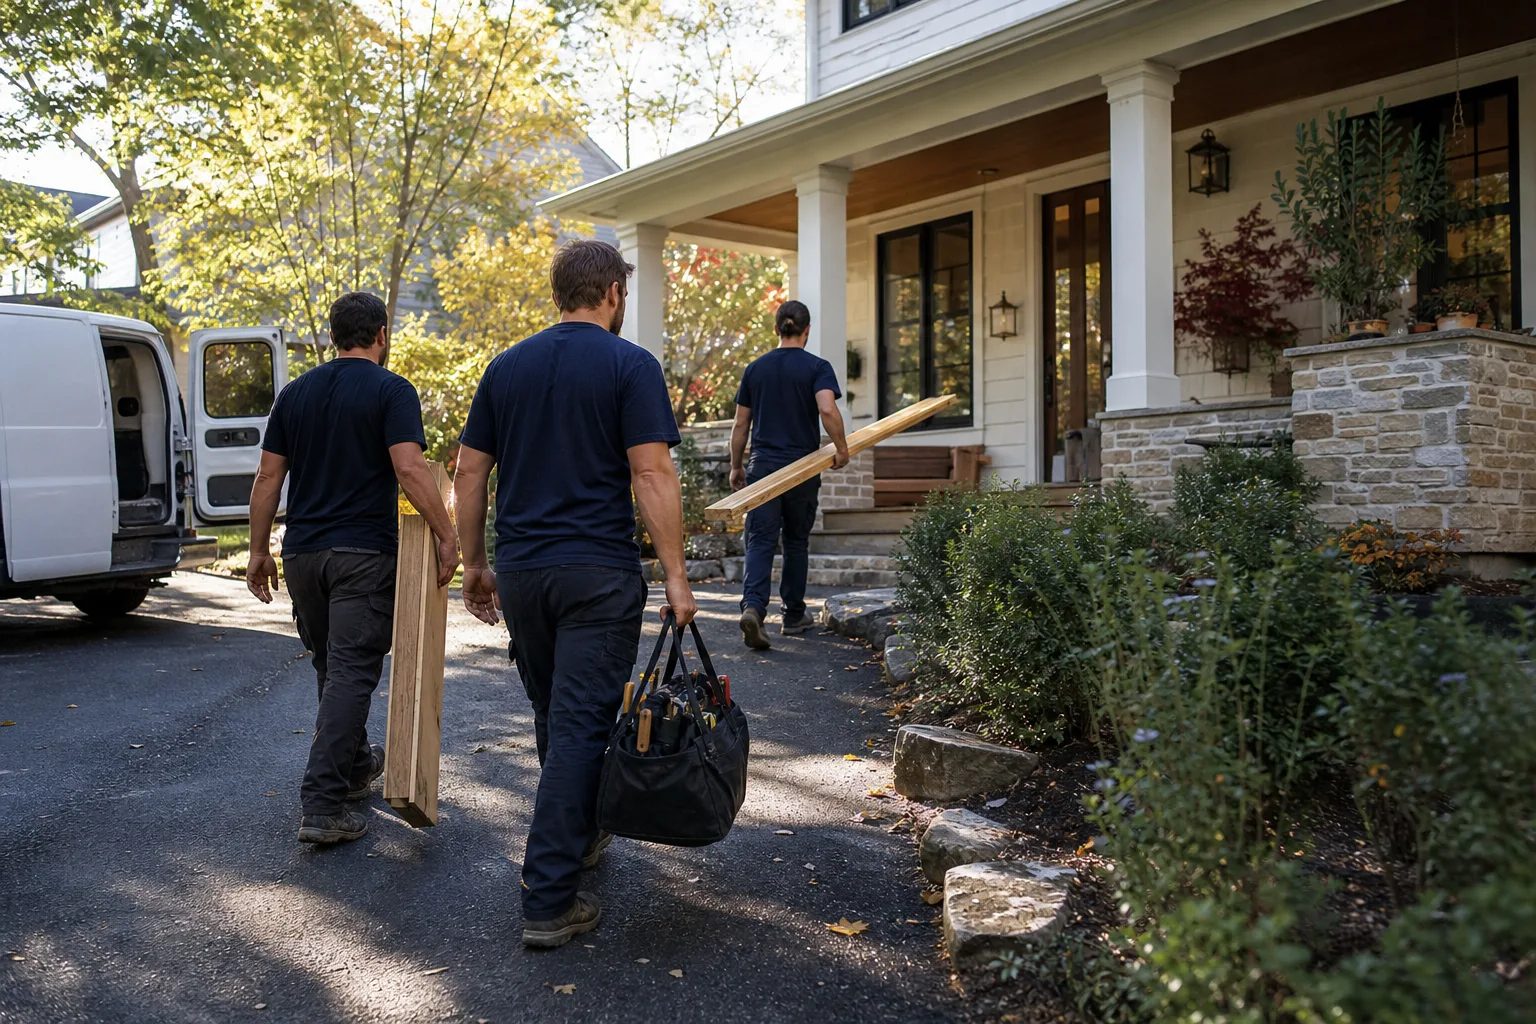
Take photos of the open walls before they’re closed. A photo of the membrane, the plumbing and the electrical runs is a reference you’ll value any time a future repair question comes up. The uniformed crew you’re watching has done this before, and a good crew will point these out before you ask. That habit of asking before closing a wall is part of what the Elmstead Remodeling Boulder City home team calls the Cedarwell Care Promise – explain the price before the work, and show your work as it goes.
Waterproofing methods and where they fail
Waterproofing failures are the single most common cause of bathroom remodel callbacks, and they almost never fail in the middle of a panel. They fail at the edges, corners, and penetrations. Here’s where each common method tends to give out:
- Liquid-applied membrane. Must cure to the specified thickness in coats, and each coat needs cure time. In hot, dry Boulder City conditions, a crew that coats and tiles the same day risks a membrane that hasn’t cured. It also fails if the substrate was dusty or unprimed – the membrane loses adhesion and peels at the corners.
- Sheet membranes (such as the Schluter Kerdi system). Reliable when the thinset is mixed correctly and seams are overlapped to spec. Fails when the crew works too dry and the fleece doesn’t bond, or skips the seam banding.
- Backer board with a surface coat. Cement board is not waterproof by itself. It needs a membrane over it or a coated face. Bare backer board in a shower is a common shortcut that shows up as a leak months later.
Ask any contractor which system they’re using before the job starts. The correct answer names a specific product and a manufacturer’s installation spec, not “we use the good stuff.” The brands you can research by name – Schluter, and the fixtures from Kohler, Moen and Grohe that sit on top of the membrane – carry published installation requirements you can check independently. In our experience, the homes that stay dry the longest are the ones where someone asked that question at the bid stage.
Ventilation and moisture problems in tight bathrooms
A Boulder City bathroom that stays humid after a shower has a ventilation problem, and it turns into grout erosion, peeling paint and eventually mold in the wall cavity. The exhaust fan needs to be rated for the room’s cubic footage – roughly one cubic foot per minute per square foot of floor area is the baseline – and the duct run has to actually reach the outside.
Two things we see repeatedly in older homes: a fan that vents into the attic or a dead-end duct, and a fan so loud the family simply doesn’t run it. If the fan is noisy, it won’t get used, and an unused fan is the same as no fan. A quiet, correctly sized unit is worth the upgrade during a remodel because it’s inexpensive to swap while the ceiling is open. For a room with a shower, the goal is simple: leave the door open and let the fan run past the end of the shower, not just during it.
Common Mistakes to Avoid
- Laying tile over a subfloor you haven’t tested for deflection. In Boulder City’s heat swings, a borderline floor fails. Test it before tile, not after the first crack.
- Skipping the waterproofing membrane “because it’s just a guest bath.” Every wet area gets the same membrane the main shower gets. Shortcuts here are the number one callback.
- Setting tile before the membrane has cured. Desert heat can tempt a crew to rush. Follow the product’s cure time, even if it means a longer schedule.
- Buying the toilet or vanity before the rough-in is set. Order fixtures after the plumbing layout is confirmed, so the flange and supply locations match what you buy.
- Forgetting the toilet flange height when adding floor tile. A buried flange means a rocking, leaking toilet. Account for the finished floor thickness when the flange goes in.
- Letting a noisy fan slide. A fan the family won’t run does nothing. Sized and quiet beats powerful and ignored.
- Closing the wall without photos. Take pictures of the open walls. Future repairs get easier and you preserve an honest record of what’s behind the tile.
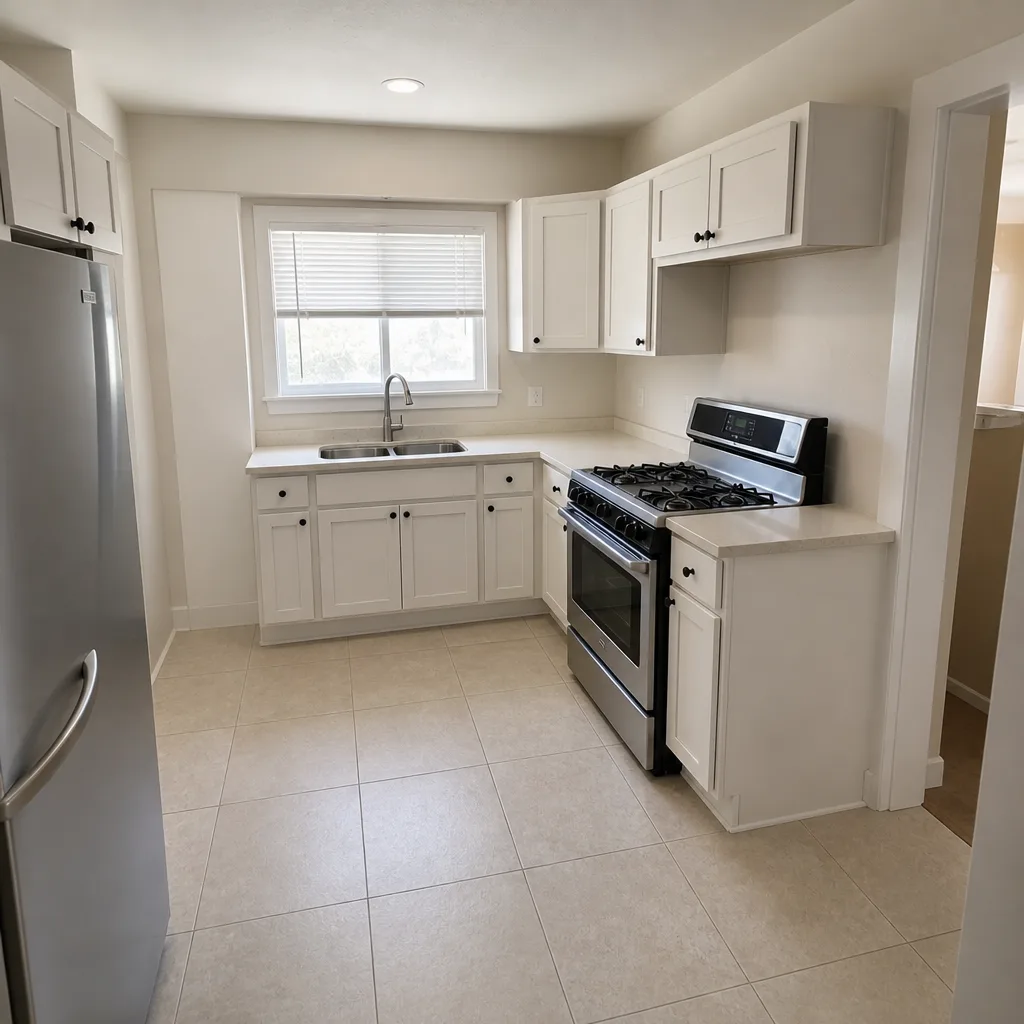
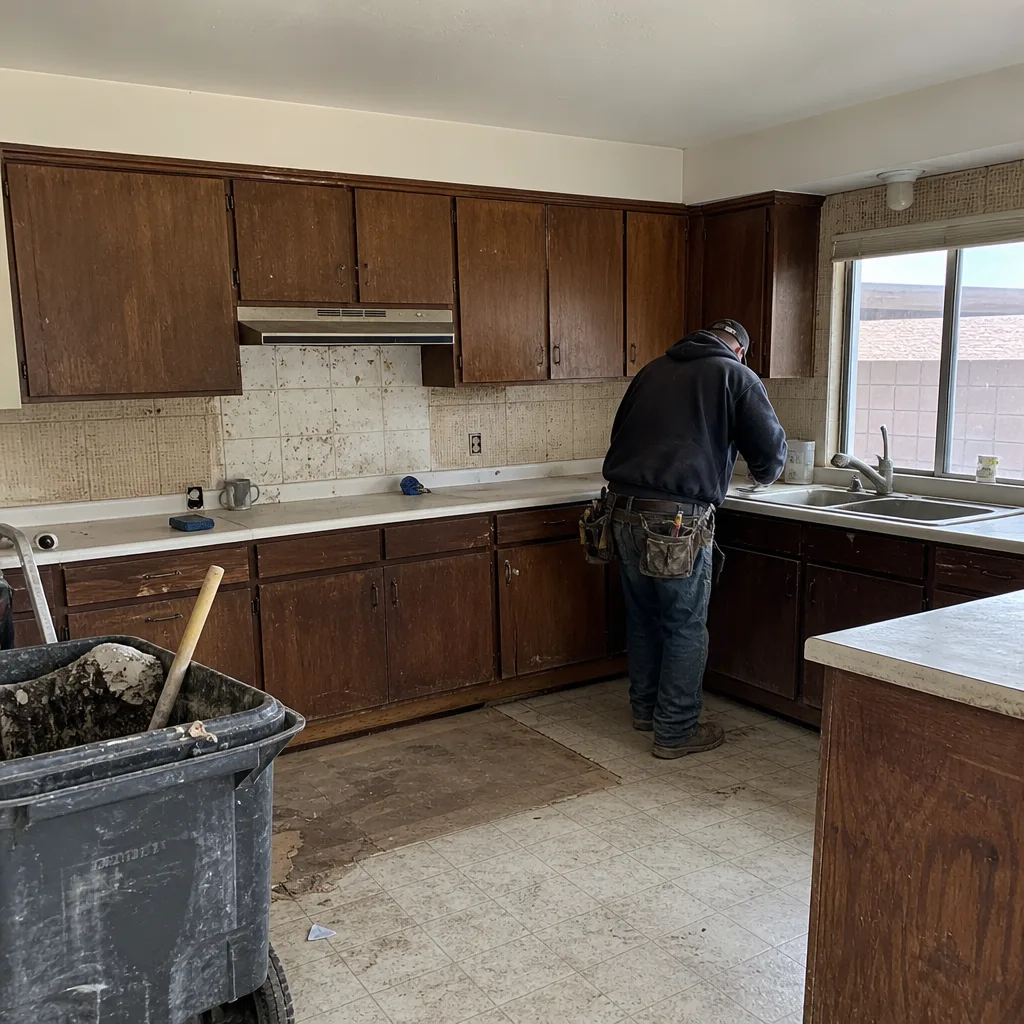
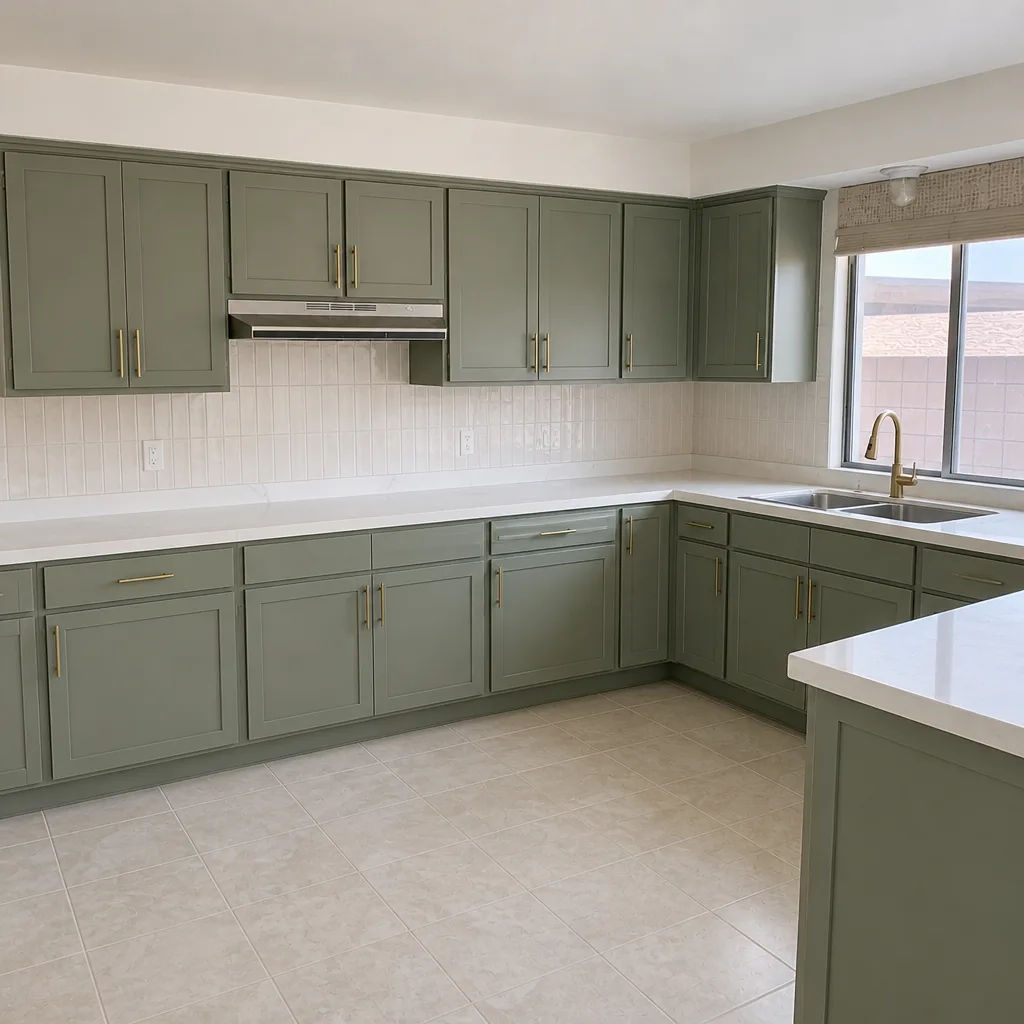
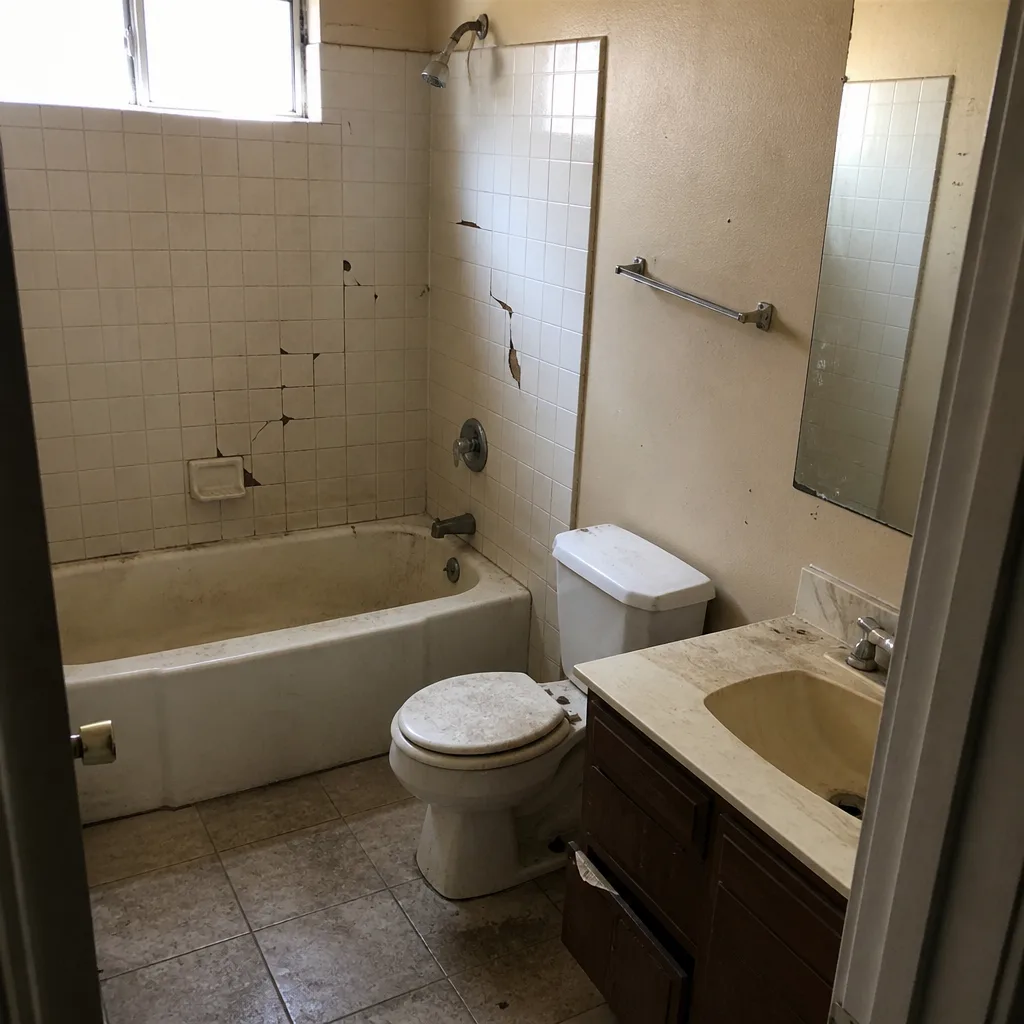
See the difference
 Before
 After
 Before
 After
 Before
 After
When to Call a Professional
Call a professional when a shower leak is suspected behind the wall, when a cracked floor shows deflection or repeating crack patterns, when a rough-in measurement needs to be corrected after tile is set, or when a waterproofing failure needs to be diagnosed and rebuilt. These are cases where the repair cost is dominated by labor and expertise, not materials, so guessing is the most expensive option. It’s also worth a call when you’re not sure which category a problem falls into – a crack that looks cosmetic can be structural, and vice versa.
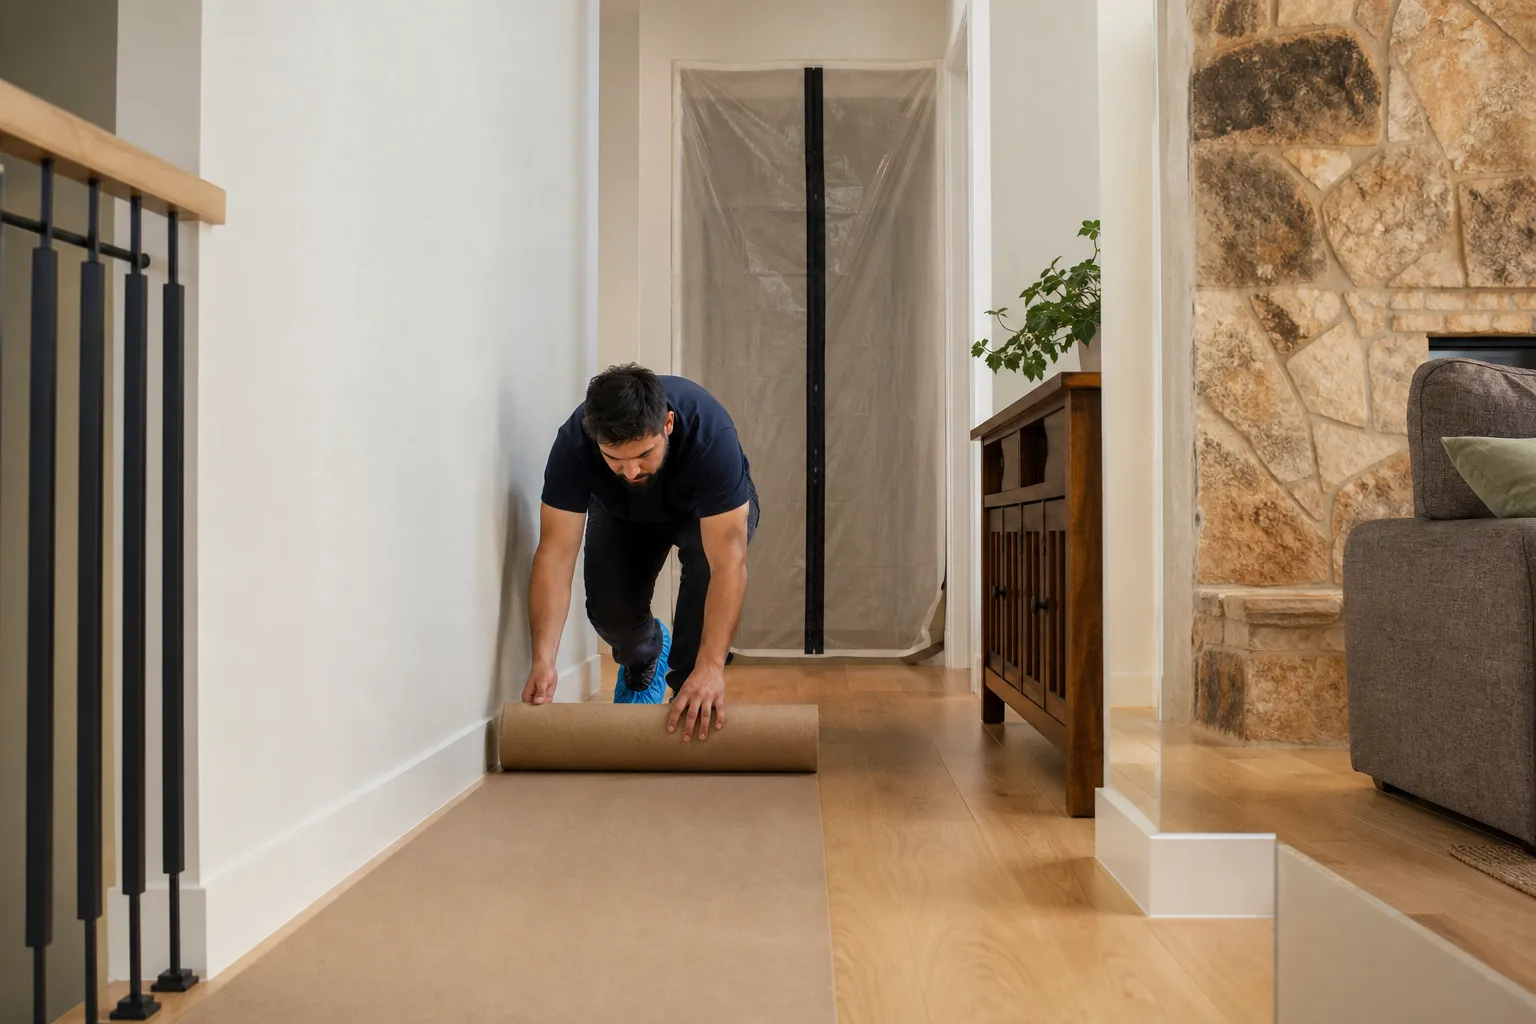
We give a written price before any work starts, every time, and the crew wears shoe covers and lays drop cloths as soon as they’re inside. Elmstead Remodeling Boulder City offers free estimates in Boulder City – call (855) 552-7882, and a live person answers, day or night, not a voicemail box.
Frequently Asked Questions
A cosmetic tile replacement typically runs $120 to $400 depending on count and whether matching tile is still available. If the crack traces to a substrate or deflection problem, expect $900 to $2,500 or more because the repair involves correcting the subfloor and re-tiling the area. Call (855) 552-7882 for an exact quote – estimates are free.
No. We give a written price before any work begins, and it doesn’t grow after the crew arrives. If hidden damage turns up once the wall is open (rotted framing, a failed membrane), that’s a conversation and a written change before anything is done, not a surprise on the invoice. Call for a free estimate and the price we quote is the price you plan around.
Yes – plumbing and electrical work in a Boulder City bathroom generally requires permits, and we handle the paperwork and inspections. That matters if you ever sell the home, because unpermitted work can surface as a problem during a buyer’s inspection. Call (855) 552-7882 to talk through what your project needs.
If water drains fine when you pour a bucket directly into the drain, the drain is clear and the problem is the pan or membrane, not a clog. A water stain on the ceiling below or soft adjoining drywall confirms a leak into the wall. A professional water test on the pan settles the question. Call for a free estimate before repairing the wrong layer.
A typical full bathroom remodel runs three to six weeks, with waterproofing cure time and inspection scheduling as the biggest variables. A short schedule is fine as long as cure times aren’t rushed – that’s where callbacks come from. Call (855) 552-7882 to schedule a free estimate and a realistic timeline for your space.
Epoxy or single-component urethane grout holds up better in Boulder City’s dry, hard-water conditions than cementitious grout because it doesn’t absorb water the same way and doesn’t need annual sealing. Cement grout is fine in a dry powder room but needs sealing every one to three years. Call for a free estimate and we’ll walk through the tradeoffs for your shower or floor.
The Bottom Line
Most bathroom remodel problems you’ll ever face trace back to three pre-tile decisions: the waterproofing method, the substrate, and the rough-in placement. Learn to read the symptoms – hollow-sounding tile, repeating cracks, dark grout that comes back, a toilet that rocks, a ceiling stain below the shower – and you’ll know whether you’re looking at a surface fix or a structural one before you spend money. Get the membrane right, test the subfloor, verify the flange and valve depth, and photograph the open walls. Fix the cause the first time, and the tile will stay where it belongs. If the answer isn’t obvious, call us for a free estimate.
Contact Elmstead Remodeling Boulder City

Whether you’re troubleshooting a single stubborn problem or planning a full renovation, it helps to talk it through with someone who does this every day. Our technicians have up to 21 years of experience, the crew arrives background-checked and uniformed, and every project is backed by the 365-Day Done Right Promise – if it’s not done right, we make it right. We lay drop cloths and wear shoe covers, keep the quiet hours respectful around naps and school pickups, and choose pet-safe products where there’s a choice. Materials come from names you can look up, from KraftMaid and Wellborn cabinets to Cambria and Silestone countertops and fixtures from Kohler and Moen. For a full renovation or a faulty shower, call (855) 552-7882 for a free estimate – a live person answers, 24/7.
Written by the team at Elmstead Remodeling Boulder City.