
Last updated November 17, 2026








Free written scope consultation - allowances, timeline, and change-order rules on paper before a single trade is scheduled
Kitchen Remodeling Troubleshooting: Common Problems and How to Fix Them
A hairline crack in kitchen tile grout within the first year is almost never a material failure. Nearly every time we pull up a loose tile to look, the subfloor underneath was deflecting – flexing just enough underfoot that the grout, which is rigid, cracked along the stress line while the tile and thinset held. That distinction matters because it decides who pays for the fix: the manufacturer, the installer, or nobody. In this guide we’ll walk through the problems that surface months after a Boulder City kitchen remodel wraps up – drifting drawers, cracking grout, counter seams that separate, appliances that don’t sit flush – and explain, for each one, whether it’s yours to handle in ten minutes or a callback the contractor owes you.
Quick Answer
Most post-remodel kitchen problems fall into two buckets: hardware and adjustment issues you can fix yourself in minutes (drawer drift, soft-close dampeners, door alignment), and installation or structural issues that are the contractor’s responsibility (cabinet boxes out of plumb, grout cracking from subfloor deflection, counter seam separation, appliance reveals that block ventilation). Knowing which bucket a problem belongs in – and documenting it with photos and dates – is what determines whether it gets fixed under warranty or comes out of your pocket.
Styles & brands we work with
- Kitchen remodeling
- Bathroom remodeling
- Home additions & ADU
- Roofing
- Windows & doors
- Driveway & pavers
- Fence
Table of Contents
- Drawer and Door Alignment Drift
- Grout Cracking and Tile Lippage
- Appliance Fit Gaps and Trim Issues
- Counter Seam Separation
- How a 365-Day Workmanship Promise Changes the Conversation
- How to Document an Issue Before You Call
- Common Mistakes to Avoid
- When to Call a Professional
Drawer and Door Alignment Drift
This is the most common complaint we hear, and the good news is that most of it is yours to fix in about ten minutes. Drawers and doors drift for two very different reasons, and the symptoms tell you which one you’re dealing with.
If a drawer closes softly but doesn’t quite meet the cabinet face, or a door hangs a millimeter low on one corner, you’re almost certainly looking at a soft-close hardware adjustment. Modern drawer slides and concealed hinges – including the ones on KraftMaid and Wellborn cabinets – have small adjustment screws built in for exactly this reason. Cabinet hardware settles as the wood and the slides break in over the first few months of use, and a tiny tweak brings everything back into line.
Here’s how to tell the difference:
- Open and close the drawer slowly. If it glides evenly and just sits proud at the face, it’s an adjustment. If it rubs, catches, or scrapes on one side, keep reading.
- Look at the gap around the drawer or door. Even gaps all the way around mean the box is square and you’re just adjusting the front. A gap that’s wider at the top than the bottom means the front is racked.
- Check the cabinet box itself for plumb. Hold a level against the face frame. If the box is out of plumb – meaning the cabinet was installed slightly off-vertical – no amount of screw-turning on the drawer front will fix it permanently. That’s a contractor callback.
If the cabinet box wasn’t plumb at install, the drawers will keep drifting back out of alignment no matter how many times you adjust them. The fix is a re-shim or re-set of the cabinet, which is the installer’s job. In our experience, cabinets set against a slightly out-of-level floor – common in the older homes around Boulder City’s historic district – are the ones most likely to drift. This is genuinely worth measuring rather than guessing.
Grout Cracking and Tile Lippage
Grout doesn’t crack because the grout was bad. It cracks because something underneath it moved.
Tile and grout are rigid. A wood subfloor is not – it deflects a small amount under the weight of a person standing on it, and if that deflection exceeds what the tile assembly can tolerate, the weakest point gives first. That’s usually a grout line, especially one running across a joist or a joint where two sheets of subfloor meet.
The industry tolerance most installers work to is a floor deflection of no more than L/360 under live load – a measure of how much the floor can flex over a given span. When the subfloor is undersized, or when tile was installed over an existing floor without a proper underlayment (like a Schluter uncoupling membrane), deflection transfers straight into the grout. A hairline crack running in a straight line is almost always deflection. A crack that spiders out from a corner is more often impact damage or a point load.
Lippage is the other term worth knowing. It’s the height difference between the edges of two adjacent tiles. A little is expected; the standard tolerance is generally around 1/32 inch for most tile types. More than that is usually visible underfoot and catches light at a low angle – and it’s a sign the tile wasn’t set flat during installation, which is a workmanship issue, not a materials one.
What to do about grout cracking depends on the cause. Cosmetic hairline cracks can be regrouted with a flexible grout. But if you’re seeing repeated cracking in the same line, or a tile that’s come loose (listen for a hollow sound when you tap it), the fix is a subfloor repair, not a patch. For families who’ve already been through a kitchen remodeling in Boulder City, this is exactly the kind of thing to raise during the warranty window rather than live with.
Appliance Fit Gaps and Trim Issues
A quarter-inch reveal difference between an appliance and the cabinet opening doesn’t look like a big deal. It is.
Refrigerators, dishwashers, and ranges all need airflow and clearance to operate as designed. A refrigerator needs a gap at the top and sides for heat to escape (or, in a built-in model, specific ventilation paths). A dishwasher needs clearance for the door to open fully and for heat to vent. When a cabinet opening is built slightly too tight, or trim is added to close a gap that shouldn’t have been closed, the appliance runs hotter, works harder, and can shorten its own lifespan. It can also void the appliance manufacturer’s warranty, since the unit wasn’t installed to the clearances in its spec sheet.
This is where the trade between cabinet brands and appliance choices genuinely matters. When we’re specifying cabinets from KraftMaid or Wellborn, the appliance spec sheet comes out before the cabinet order goes in – because the openings have to be cut to the appliance’s actual dimensions, not to “standard.” If your finished kitchen has a tight reveal around the fridge, look at the appliance spec sheet and check the required clearances against what was built. If the cabinet opening is undersized, that’s a contractor fix (a trim piece, a panel relief, or opening up a cabinet side). If the gap is cosmetic but generous, a simple filler strip or matching trim is the answer.
One thing to watch in Boulder City specifically: our summer heat means refrigerant systems in particular run harder here than in milder climates, and a refrigerator that’s starved for ventilation will struggle more in July than it would elsewhere. Don’t caulk or trim over a gap that a spec sheet says should be open.
Counter Seam Separation
Countertop seams don’t usually open up because the counter was bad. They open because something below or beside the counter moved – and the movement is nearly always related to cabinet settling, humidity cycling, or a seam that wasn’t properly supported during install.
A proper seam repair involves cleaning out the old material fully, checking that the two slab edges are still flush and level, and re-bonding with a color-matched epoxy that’s structurally rated for the material. What you don’t want is someone running a bead of silicone caulk over the gap and calling it fixed. Caulk doesn’t bond to the slab edges; it just hides the gap until the next temperature swing opens it again, and putting the wrong material into a seam can void the material warranty on a Cambria or Silestone surface. Both brands specify which seam adhesives and methods are approved.
Here’s how a proper seam repair should look:
- Clean-out. The old adhesive is removed completely from both slab edges – not just wiped over.
- Level check. Both slabs are checked for level and flush before re-bonding. If the cabinet below has settled, that gets addressed first, or the seam will re-open.
- Epoxy re-bond. A color-matched, material-approved structural epoxy is applied and the seam is clamped or supported while it cures.
- Finish. The seam is ground, polished, and blended to match the surrounding surface.
If your seam has opened within the first year, the question to ask your contractor is whether the seam was properly supported at install – not just sealed. A seam over a dishwasher or a cabinet opening that wasn’t fully supported is the most common culprit. In the dry, low-humidity air of the high desert, wood cabinets shrink slightly in winter and swell in summer, and a seam that wasn’t supported will show that movement first. If your original installer is unresponsive or your seam is on Cambria or Silestone, a material-specific contractor is the right call because the warranty terms are strict about who touches the surface.
How a 365-Day Workmanship Promise Changes the Conversation
The hardest part of post-remodel troubleshooting isn’t the repair. It’s the conversation: is this mine to fix, or is it the contractor’s responsibility? A written, held workmanship promise is what answers that question clearly.
At Elmstead Remodeling, every completed project is covered by the 365-Day Done Right Promise: if it’s not done right after the job is complete, we make it right. That promise matters most in exactly the situations this guide describes – a drawer that drifts at month four, a grout line that cracks at month six, a seam that opens the first winter. It’s also the longest-standing post-project commitment in our service area, and it’s stamped on every project rather than offered as an upsell.
What a workmanship promise typically covers: installation errors, alignment and plumb issues, grout and seam failures caused by installation, and anything that fails to perform as it was built. What it typically doesn’t cover: normal wear, damage from dropped objects, or issues caused by something outside the remodel scope (a leaking appliance, a floor that wasn’t in the original scope). The key is that the boundary is written down, not argued over after the fact.
When we get a callback, the visit starts with a look, not a defense. The technician photographs the issue, compares it against the project file, and then decides – repair under warranty, or a clear explanation if the cause is outside scope. If you’re researching a contractor in Boulder City, ask specifically what the post-completion promise in writing says, and what the process is for a callback. A promise that isn’t on paper isn’t a promise. Families who choose a general contractor in Boulder City for the whole home, rather than piecing out trades, usually end up with a cleaner paper trail at exactly this moment.
How to Document an Issue Before You Call
The faster a contractor can identify the cause, the faster the fix happens. A short, organized set of documentation at the time you notice a problem saves a full callback visit and a lot of back-and-forth. Here’s what we ask families to send, and what makes the difference:
- Photos, close and wide. One photo of the issue close up, and one showing where it is in the kitchen. The context shot does more diagnostic work than the close-up.
- When you first noticed it. A date and an approximate time. “After the first cold week in January” tells us a lot about humidity cycling; “after the dishwasher ran” tells us about seam support.
- Whether it’s getting worse. A stable gap and an opening gap are different problems.
- Anything you’ve already tried. If you’ve already turned an adjustment screw or added caulk, say so – it affects what we do next.
- A sound recording of a hollow tile, if you can. Tap it with a coin. A hollow sound means the tile has debonded, which changes the repair scope.
One more documentation tip for Boulder City families: take a photo of the room as a whole at the moment the project is completed, and keep it with your project paperwork. It creates a baseline for the warranty conversation, and it’s the single most useful thing you can have on hand if something shifts at month eight.
Common Mistakes to Avoid
- Caulking over a counter seam. It hides the gap until the next seam opens it wider, and it can void the manufacturer’s warranty on Cambria or Silestone. If a seam has opened, it needs a proper structural repair, not a silicone patch.
- Adjusting a drawer over and over without checking the box. If the cabinet box is out of plumb, repeated adjustment just buys a week of alignment each time. Check for plumb first.
- Calling the material manufacturer first. Nearly every material warranty requires the installer to be contacted first and to inspect the material in place. Going straight to the brand usually just routes you back to the installer.
- Patching cracked grout with the same rigid grout. If the cause is subfloor deflection, the new grout will fail in the same way. The cause has to be addressed before the surface is fixed.
- Trimming or caulking over an appliance reveal. In the Boulder City heat, a refrigerator that needs ventilation and can’t get it runs harder than it should and may drop out of its warranty. Verify the clearance against the spec sheet before closing any gap.
- Waiting until day 380 to report a problem. A 365-day promise has a real expiration date. Report issues when they appear; don’t wait until the deadline to bring up a list.
- Documenting nothing. A phone call with no date and no photo leaves the contractor guessing. The ten minutes you spend documenting an issue will save a visit.
When to Call a Professional
Call a professional when the problem involves anything structural, anything that’s already been repaired once, or anything that touches a material warranty. Cabinet boxes out of plumb, grout cracking in the same line more than once, a counter seam that has opened after being repaired, a tile that’s come loose, and appliance reveals that block ventilation are all callback items – not homeowner fixes. Those are the cases where a wrong repair costs more than a right one, and where a workmanship promise actually matters.
Elmstead Remodeling Boulder City offers free estimates in Boulder City and takes the post-project callback as seriously as the original install – our technicians have up to 21 years of experience, are background-checked and uniformed, and answer the phone with a live person around the clock, not a voicemail box. If you’re not sure whether you should call, call and describe it. Call (855) 552-7882 for a free estimate. We answer, and we’ll tell you honestly if it’s something you can handle on your own.
See the difference
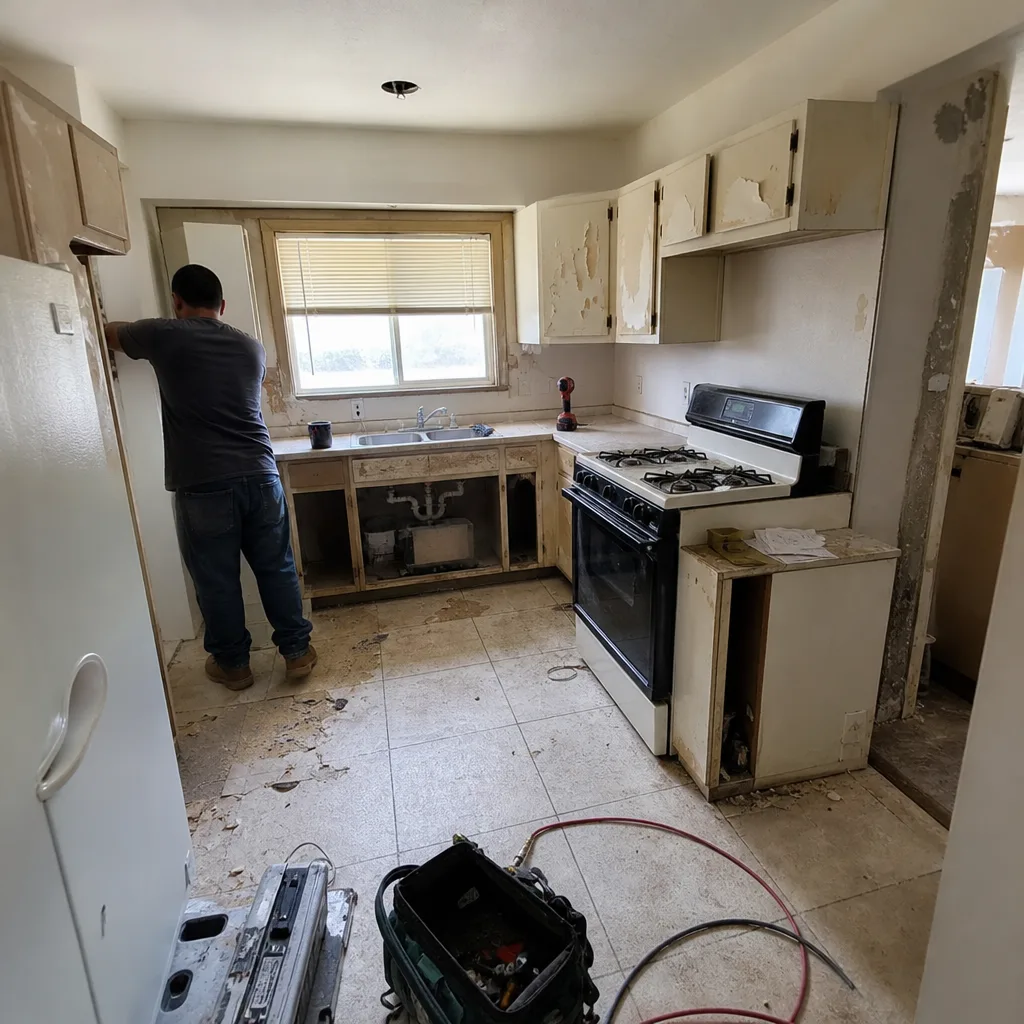 Before
 After
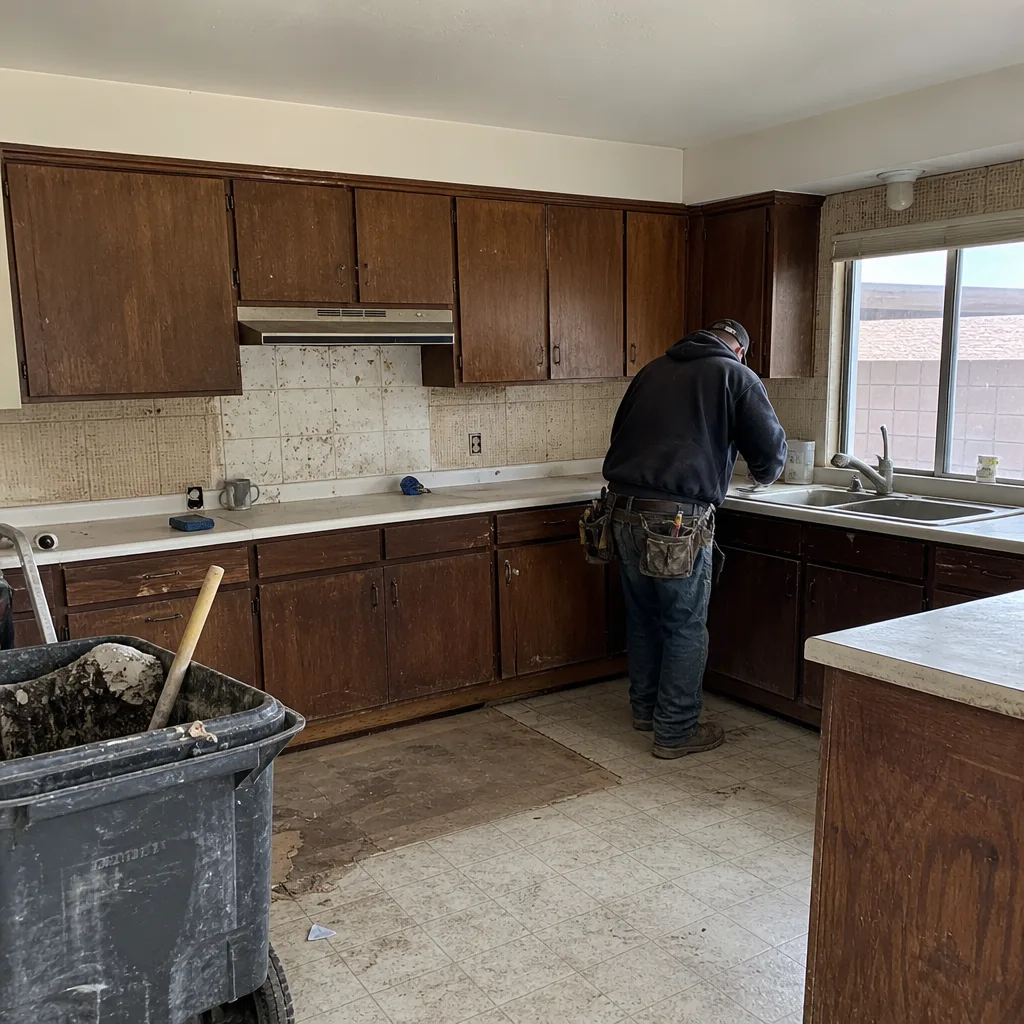 Before
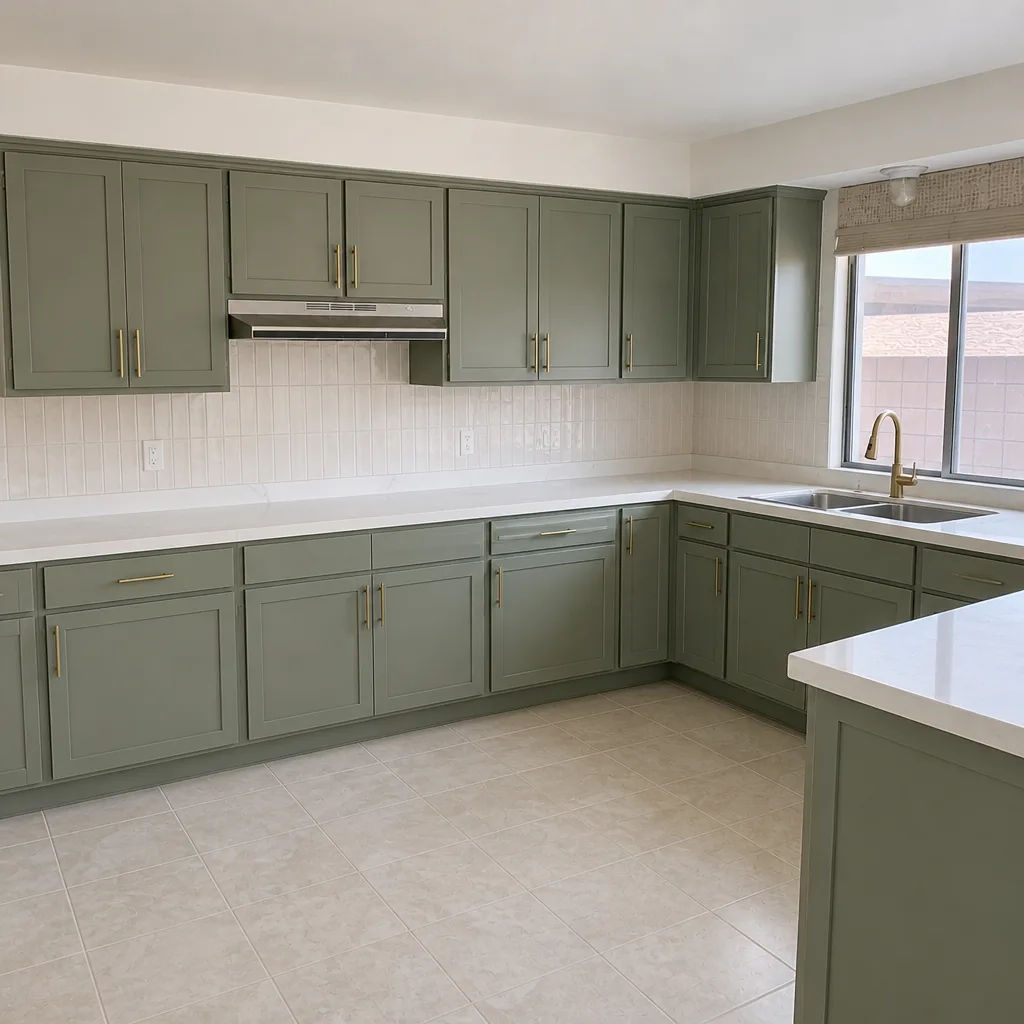 After
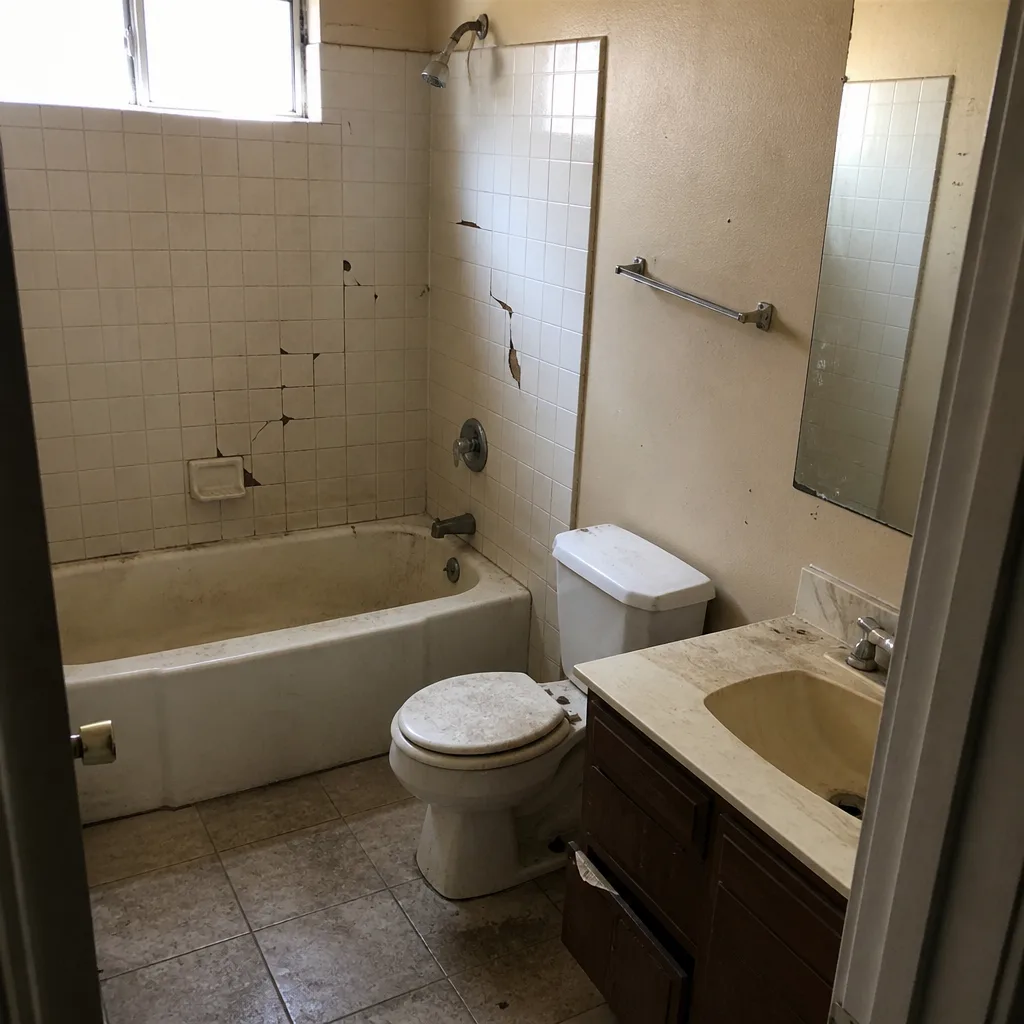 Before
 After
Frequently Asked Questions

It depends on the cause. If the grout cracked because the subfloor deflects beyond the tile’s tolerance, the installer is typically responsible under a workmanship promise, because the subfloor prep was part of the installation. If the crack came from a dropped object or a point load, that’s usually on the homeowner. Document the issue with photos, note when you noticed it, and call your installer first. Call (855) 552-7882 for an exact quote on the repair – estimates are free.
Sometimes, and it matters why. A refrigerator needs clearance for ventilation, which the manufacturer sets in the spec sheet. If the gap matches the spec, it’s correct. If it’s smaller than the spec because a cabinet was built tight or trim closed it off, the fridge will run harder – especially in Boulder City’s summer heat – and the appliance warranty can be affected. Check the spec sheet for the required clearances, then call (855) 552-7882 if you need a contractor to open up the cabinet opening or adjust the trim.
You can caulk it, but you won’t be fixing it, and caulk over a seam is the most common reason seams fail a second time. A proper seam repair removes the old material, verifies the slabs are still level and flush, re-bonds with a material-approved structural epoxy, and re-finishes the surface. Doing it wrong can void a Cambria or Silestone warranty. Call (855) 552-7882 to schedule a free estimate on a proper repair.
Look at the gap around the drawer. If the gap is even and the drawer glides smoothly but sits proud, it’s almost always soft-close hardware that needs a tweak – a ten-minute fix. If the gap is uneven or the drawer rubs, check whether the cabinet box is plumb with a level. An out-of-plumb box is an installation issue and a contractor callback. Call (855) 552-7882 if you’d like us to take a look.
Every completed Elmstead Remodeling project is covered for a full year after completion: if something we installed isn’t done right, we make it right. That includes installation-driven alignment, grout, and seam issues that surface after the crew has finished. It runs a full 365 days from project completion and is stamped on every project, not offered as an optional upgrade. Call (855) 552-7882 for details on a specific project.
Yes. The older homes in Boulder City’s historic district regularly have floors that settle out of level over time, and that’s the most common reason cabinet boxes end up out of plumb and drawers drift. We check the floor before the cabinets go in, which is the right time to deal with it. If you’re planning a kitchen remodel or living with a drift problem now, call (855) 552-7882 for a free estimate.
The Bottom Line
Most kitchen remodeling problems don’t announce themselves. They turn up as a drawer that won’t close, a grout line that cracks in a straight line, or a counter seam that opens the first winter after the crew leaves. The thing that separates a homeowner fix from a contractor callback is usually one diagnostic question – is the problem in the hardware, or in the box and the subfloor underneath it? Soft-close hardware drift and cosmetic filler strips are yours. Out-of-plumb cabinets, cracking grout from deflection, unsupported counter seams, and ventilation-blocking appliance reveals are the installer’s. Get a written promise at the start, document issues with dates and photos at the moment they appear, and report anything structural inside the warranty window. That sequence is what keeps a Boulder City kitchen remodel feeling finished, and it’s exactly the kind of home-clean, careful work our Elmstead Remodeling Boulder City home team is built around. If the kitchen project has already led you into the rest of the house, our guide to bathroom remodeling in Boulder City covers the same troubleshooting by room.
Written by the team at Elmstead Remodeling Boulder City.